UPDATE: This set of lessons is available in full now, downloadable as one PDF. Go check out the
Treasure Island Seminar to check that out. :)
Hello! On this page you'll be able to do access and download all the materials your children will be receiving in class, as well as additional stuff to look at and print. I will update this page as new materials become available. Here's a short list of the materials you can find here, and below is a more detailed list, by date.
Class Summary 1:
jpg or
pdf Yo Ho Ho and a Bottle of Rum:
jpg or
pdf Yo Ho Yo Ho a Pirate's Life for Me:
jpg or
pdf Class Summary 2:
jpg or
pdfCompass Exercise:
jpg or
pdfClass Summary 3:
jpg or
pdf Class Summary 4:
jpg or
pdf A Pirate's Life is a Wonderful Life:
jpg or
pdf Vocabulary Worksheet for Part One:
jpg or
pdf Class Summary 5:
jpg or
pdf Pirate Story Plan:
jpg or
pdf Class Summary 6:
jpg or
pdf Class Summary 7:
jpg or
pdf Pirate Vessels:
jpg or
pdf Vocabulary Worksheet for Part Four:
jpg or
pdf Class Summary 8:
jpg or
pdf Ship's Bells Worksheet:
jpg or
pdf Class Summary 9:
jpg or
pdfSignal Flags Worksheet:
jpg or
pdfLillibullero:
jpg or
pdfClass Summary 10:
jpg or
pdfCoin Worksheet:
jpg or
pdfClass 11 and 12 available
here.

Update May 6:This week the children really impressed me with their grasp of the salient points from these chapters. As we near the end of the book, things will start to come together, plot-wise, but this part where Jim Hawkins is in the coracle, on and off the Hispaniola, and fighting with Israel Hands, is kind of difficult to follow even for an adult. I continue to be amazed with their comprehension skills and when we sit down to discuss the story they are almost always right with me as we go through the ideas and facts I want to get across. Kudos to you guys for reading with them, and kudos to them for tackling such a challenging text.
When Jim Hawkins returns to the stockade, he is clued in to the fact that the pirates have taken over residence when he hears the parrot saying "Pieces of eight! Pieces of eight!" We learned what this phrase means, and the answer was kind of interesting! Spanish dollars were worth 8 reals, and they were made of gold. To make change, instead of making coins with smaller denominations, they would just chop up the big gold coins into individual reals. Each "bit" was worth one real, making each quarter worth two reals, or two bits! Interesting -- I did not know that until doing research for this class.
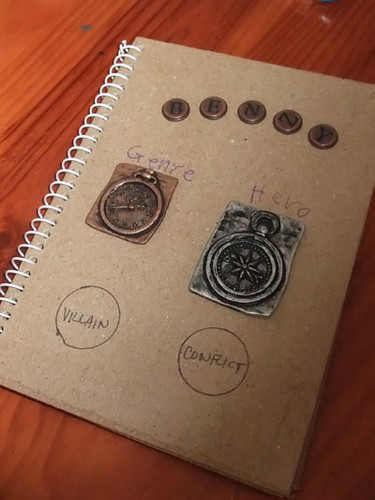
After we discussed some of the symbolism of the images that appear on coins, how carefully the faces, buildings, animals, birds, or shapes are chosen, the students designed their own coins with interesting results. We also talked about fractions, and practiced dividing our coins into halves, quarters, eighths, but I found this was not challenging for them -- they seemed to already understand these math concepts.
Documents:
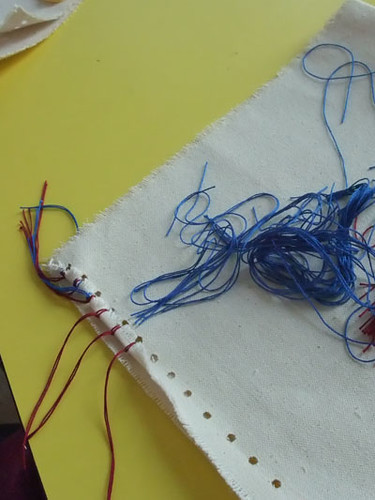
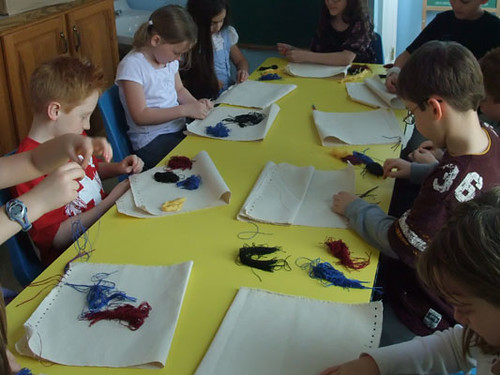
Update April 29:In this class we learned about signal flags and the way they were used to communicate between ships. We studied the signal flag alphabet and practiced writing our names and messages to each other in flags. Keep your eye open for flags in the harbor and also on buildings around town!
We learned a new song today. Lillibullero is an English folk song that has been used and re-used with many different lyrics at different times in history. We put Treasure Island lyrics to it -- a call and response song between the faithful and the pirates as they taunt each other over the wall of the stockade.
Lillibullero was the tune that the pirates were whistling while Dr. Livesey was making his trips with the jolly boat before the faithful took up residence in the stockade. I thought it would be neat to teach the children this song, and it *really* gets stuck in their heads. I may have assigned them to come home and drive you insane singing "Lero lero lillibullero!" Sorry about that.
Here are the documents:

Signal Flag Worksheet:
jpg or
pdf
Lyrics to Lillibullero:
jpg or
pdfThe men in the stockade had to make difficult choices about what they chose to take with them from the ship, since they didn't have a lot of room in the boat. Some luxuries and even some necessities were left behind, and now they're struggling to survive with only what they have. Today in class we're going to be creating "survival packs" in class. We will determine the bare minimum that we would need to survive in a jungle island environment and pack our boxes with symbols of these provisions and tools.
We will also be learning about telling time with ship's bells, and I have a worksheet for them to use in practicing this. It would be great if throughout this week you could reinforce the "ship's bells" method a bit when you find yourself checking the time or setting a bed time or a time for dinner. :)

Class Summary 8: jpg or pdf

Ship's Bells Exercise: jpg or pdf
Update April 1:At the beginning of our reading for today, Dr. Livesey becomes the narrator and Jim Hawkins is temporarily out of the story. Today we focused on point of view as a literary device. The point of view from which a story is told determines a lot about the story! We discussed how different
Treasure Island might be if it were told from the point of view of Long John Silver. We discussed how real life situations might be seen differently from different characters involved in the action. The boys were incredibly perceptive with this stuff! Well beyond my expectations! They continue to amaze me.
We are learning about different types of pirate vessels in these chapters and the ones to come. I assigned an art worksheet for them to do, with your help, after looking up pictures of gigs, coracles, schooners, and jolly-boats on the internet. I also gave them another vocabulary worksheet -- same as the first, with "pick three to use in sentences" and then "pick three to show in a picture." As usual, how much you do of these "assignments" is up to you, but it does enrich our class time if everyone can participate fully.

Class Summary 7: jpg or pdf

Pirate Vessels: jpg or pdf

Vocabulary for part 4: jpg or pdf
Update March 11:Chapter 13 provides us with a lot of very evocative descriptions of Treasure Island itself. This is not your fun, happy, blue-skied, diamond-beached tropical paradise! It's marshy, grey, forbidding, and scary. Today we discussed literary settings, and the three elements that make up a setting:
1. The physical objects present, including landscape elements and "things" in view.
2. The time of day. Lonely beach during the day is quite different from a lonely beach at night!
3. The weather.
Without any of these three elements, a setting is incomplete. An author gives us at least an impression of all three, to create a full picture in our minds. We also talked about including other senses besides just vision. The marsh in Treasure Island smelled bad, the heat felt oppressive, there were bird calls, etc.
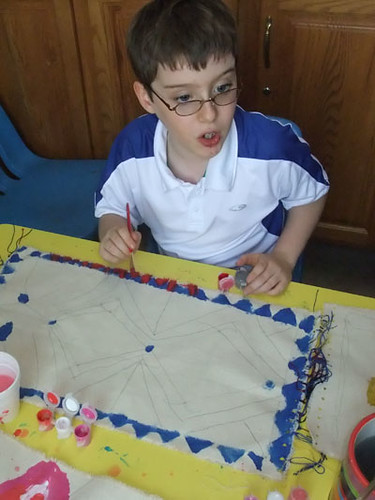
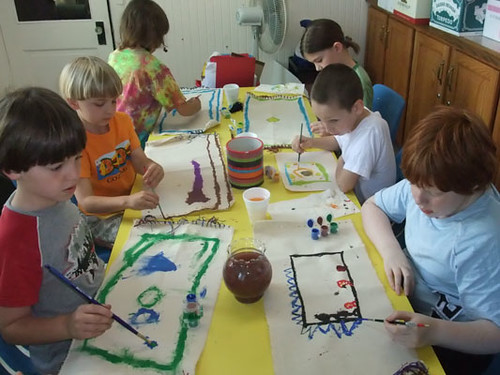
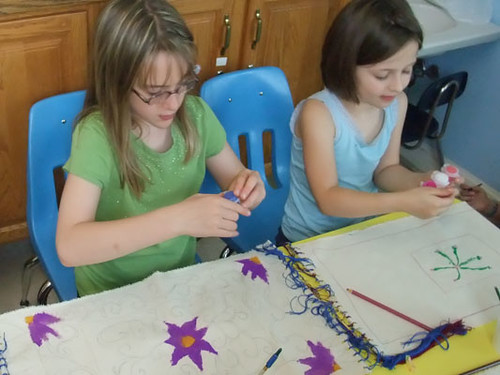
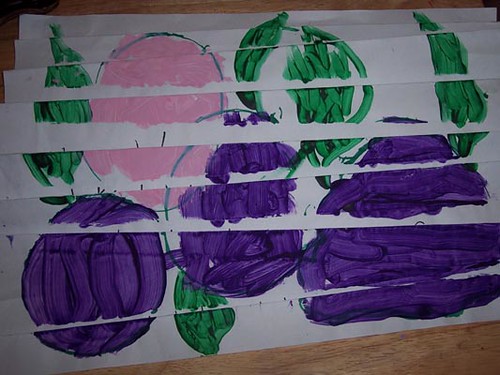
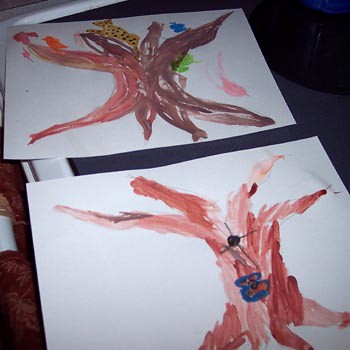
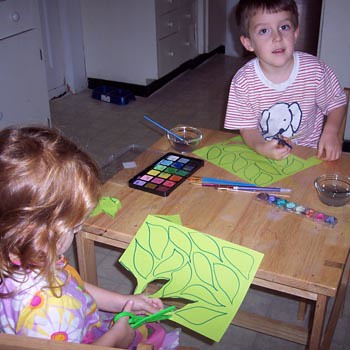
To reinforce these ideas, we did watercolor paintings of the setting we had read about. This is why your child's picture might have come home looking very dreary. We talked about including the major landmarks, like Spyglass Mountain, and giving an impression of the weather and time of day.
During spring break, I'd like the boys to read the next six chapters. Also, if you're interested in participating in the Reading Rainbow contest for young writers and illustrators, that deadline is March 28. I would love to have some pirate stories entered! They could even use their watercolor painting as a cover, or one of their illustrations.
I realized when I was unpacking my things that in the excitement over giving the boys their pirate mugs (thanks, Amy Moler!) I forgot to hand out the class summary sheet for Class Six: Land Ho! Here it is:

Class Summary 6: jpg or pdf
Update March 4:What's up pirates and pirate parents? Today we spent some time working on their pirate vocabulary and looking at their homework. I was amazed and delighted to hear them already beginning to incorporate some of these words into their discussion of the books. These children are so smart! You might look over that sheet this week and ask your child which words he remembers, to reinforce his knowledge. If you didn't do this sheet, don't worry about it -- we'll be doing more of these as the book progresses. One of the most valuable side effects of reading real literature at a young age is exposure to interesting vocabulary, so we want to maximize that! We also spent some time talking about the geography of the ocean voyage, from Bristol to the Caribbean Sea. If you have a globe handy, you might point out these places on the globe.
New project:
Storytelling: Today we started a new project! We are all going to write pirate adventure stories! In their folders you will find a worksheet I made to help them start brainstorming ideas. If your child needs help writing down his ideas, you can absolutely be a scribe for him, or he can just draw pictures in the boxes to start thinking about the main points of his tale. In class, they already began telling me how they have different ideas, ones that don't fit in the boxes -- well, of course, that's just what I would expect!! Not at all necessary to fill in the boxes or stay within the limits I've defined -- whatever your boy imagines is fantastic. I'm just trying to spark some ideas with these questions.
Reading Rainbow, a show on PBS, has an annual contest for young writers and illustrators. The contest has some very specific rules, so you will definitely want to look at their web site if you're interested in pursuing that. Check out the local rules and regs at
WHRO. I think this is a great contest, and I will be doing this with Benny. I encourage you to investigate it -- not a requirement by any means though! The deadline is at the end of this month. Next week in class we'll be talking more about structuring their stories, so over the break they'll have lots of time to finish working at home.
Ongoing Projects:Songwriting: Two of our students wrote new verses to "A Pirate's Life is a Wonderful Life" which we sang in class. I encourage everyone to do this! There are lines on your song sheet for filling in your own verse(s) that relate to Treasure Island.
Treasure Collecting: I gave the children their treasure pouches today, in which they'll be collecting coins and jewels in class. They can either keep it clipped into their class notebooks or with the rest of their treasure trove at home. They've begun negotiating with me for trading up to better coins, better "diamonds" etc. -- this is awesome! Deal-making is very piratical. So now in their treasure troves they should have their beads, their maps, and their pouches.
Music: I have made MP3 versions of the three songs we are learning in class! I'm not going to host them on my site or the list, but if you would like to have me email them to you, please email me offlist and let me know.
That's it! Keep reading!

Class Summary 5: jpg or pdf

Pirate Story Plan: jpg or pdf
Update February 26:Ahoy pirates! I hope your reading is going well. Today in class we launched two new projects:
1. I invited the students to write their own verse, or verses, for the "A Pirate's Life is a Wonderful Life" song. I'm working on getting you guys a CD with all of these songs on it, but until then if you're not sure of the tune -- it's the song from Peter Pan. There's no pressure on this -- if they don't want to do it right away or at all, that's totally fine. Some seemed excited at the prospect, some less so, so let's just make sure it stays fun!
2. We will be making a pirate's sea chest later on in the class, but for now we are starting to collect our "treasure trove." The students should now have a treasure map (in an oilskin packet) and a necklace made with beads and shells from the West Indies. Note: The shells are not actually from the West Indies and the envelope is not actually made of skin. :) They will be collecting and making more items, so they'll just need to keep them in a central location at home until we make the chest later in the semester.
The reading for this week is the next three chapters. I welcome your feedback on the speed at which we are going through the book. If three chapters per week is too fast, please let me know. Also let me know if your children are done reading the book! :)
The vocabulary worksheet that the children brought home is a "friendly" homework assignment. We will be talking about it these words in class, and it would be helpful for the students to learn their meanings. If these homework assignments are too much, just ignore them. If you're enjoying them, that's great! They're meant to enhance their understanding of the book, not to be a chore. :) If you have any questions, feel free to email me at jackets at rpsd dot com.

Class Summary 4: jpg or pdf

A Pirate's Life is a Wonderful Life: jpg or pdf

Vocabulary Worksheet: jpg or pdf
Update February 19:Hi pirates! I hope that by now you've uncrumpled your treasure maps and rubbed them with oil. Ours turned out really old and piratey-looking, but we had a terrible tragedy in our house -- THE DOG ATE IT! The dog ate Benny's homework literally! I guess we should have used goat oil or something, because the olive oil we used was just too delicious for Leroy the Boston Terrier to resist.
If you are in the same situation, or if you just need instructions on making your pirate map because you missed class, here are the steps:
1. On a plain piece of paper, draw a pirate map with permanent marker or crayons. Don't use washable marker! Your map should include the elements we agreed on in class: a compass, labels on landmarks, and an X to mark the treasure.
2. Paint the map with tea. We used pretty weak tea in class, but you could use stronger tea for a darker color. Paint both sides.
3. When the map is good and wet, crumple it up and leave it to dry overnight while crumpled.
4. The next day, uncrumple the map and rub oil into it for a greasy old pirate map.
Note: If a lot of the crayon rubs off during the oiling process, don't worry -- part of the point is that when maps get used and abused, they get harder to read.
Here is the class summary for this week:

Class Summary 3: jpg or pdf
For next week, please read chapters 7-9. Please bring your treasure maps back to class with you so we can all admire them before we put them in their "oilskin packets." :)
Update February 12:
This update is late because almost immediately after our class on Tuesday, I went off on a trip! For those who are wondering, it went very well. For those who are wanting to download the class materials, here they are!

Class Summary 2: jpg or pdf

Compass Exercise: jpg or pdf
In class, we sang our pirate songs, and then covered the "salient points" of chapters 1-3. We learned about boxing the compass, which means reciting the thirty-two points of the compass. We learned sixteen points of the compass, and did a worksheet in class to practice putting these points where they go in relation to each other. For next week, I'd like them to be able to place N, S, E, and W on a compass. We will also work on this in class with some games on our not-quite-round rug. :)
I handed out their folders and they each got a black pencil. It would be great if they could bring these to class each week. I will have extra pencils for those that forget, and I have someone's pencil in my bag from last week, but if they could just put their pencils in the center little pocket on their folders, then they'd always have one. It is not important that they bring the actual text of the story, since we will not be using that in class.
For next week, please read chapters 4 through 6. The children all had amazing recall of the facts in the chapters they had read. You are all doing a great job supporting them as they tackle this literature! They are such bright, enthusiastic, exciting students -- I really appreciate them.
Update February 5:I realized that I assigned the boys to research one of the piratey terms in "Yo Ho Ho and a Bottle of Rum" but did not provide them with a lyric sheet. I had to wrestle my printer into submission to get it to print out the class summary, but it stuck out its lip last night and refused to print the lyrics!
Here is the class summary, which the boys received on paper today. You'll find their chosen pirate names in the blank on the sheet they got in class. You can download this either as a JPG (image) or as a PDF (Adobe Acrobat file).

Here are the lyric sheets for the two songs we'll be learning. The boys do not need to learn *all* these lyrics, by any means! The "pirate choir" will be joining in on the repeated lines, with me singing the verses, for now. No pressure to learn these at all, but I would like them to look at one of the slang terms in "Yo Ho Ho and a Bottle of Rum" and try to figure out what it means.

Yo Ho Ho and a Bottle of Rum:
jpg or
pdf 
Yo Ho Yo Ho a Pirate's Life for Me:
jpg or
pdf Have fun with the reading for this week, and don't worry about the boys understanding every little aspect of the text. This is more "grown up" literature than most of them are probably used to. It's more important to get a feel for the language and enjoy the general feeling of the book than it is to go through it paragraph by paragraph and make sure they understand every word. We will talk about the settings, the characters, and the plot points, when we meet. Next week in "pirate lore" we'll be discussing the points of the compass, and also all the other pirate lore stuff that we didn't get to this week, since we ran out of time!


 Good morning students! This lesson involves pulling a lot of the work you've done as a candidate into one media product: Your web presence. Your slogan, your poster, and now your video ad will all be part of your web ad. I've given you a very simple HTML template to manage it all, which you can customize and expand according to your comfort and abilities with HTML. You'll need a place to host your poster image and a place to host your video - if this gives you trouble, I can definitely help. I would love to see some of your videos!


