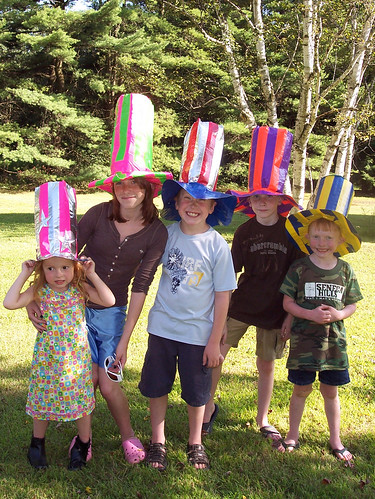
Here's our result:
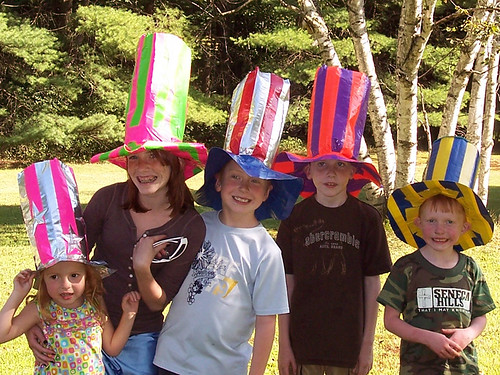
So, how did we get there?
Materials:
Duct tape in many colors. We used Duck brand which comes in purple, orange, blue, red, chrome, pink, aqua, yellow, and other silly choices. I used approximately two rolls per hat. Some rolls have more on them than others. I had no problem getting a whole hat out of two small rolls, with leftovers.
Scissors you don't care too much about. They will get sticky.
I can think of a million variations to this hat, but here are directions for my hat, my method:
1. Build the Brim Square. First, you build a square from which to cut the brim.

Lay down a piece of tape, about 18 inches long, sticky side up.
Next tear off another piece of the same length. Lay it on the first piece, sticky side down, staggered halfway up.
Now you have two pieces of tape stuck together, with half the sticky side exposed on each side.
Turn the piece over to expose the sticky part of the tape you just added.
Stick another piece on, same length, sticky side down, over that one.
Continue until you have a square.
By laying each piece of tape exactly over the other, arranging these two-sided strips next to each other, and then laying another layer of tape perpendicular to the first layer, to join them, you can create a stronger piece. Like I said, there are other ways, but this was my way.
2. Cut the Head Hole. When you have built a square, cut a circle out from the middle of it.
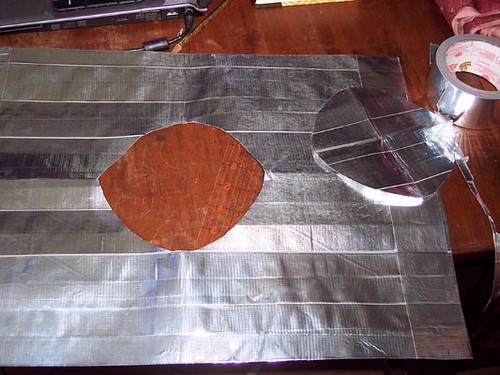
You'll need a circle that will allow your head to go into it, but be careful of making it too loose. Duct tape is actually pretty stretchy. To get a circle, fold your square in half and then cut a quarter circle away from the center point, then unfold. If you start with a 3.25 inch quarter circle, you will probably be in the right neighborhood. Big math points to older students for figuring all this out exactly. Fit it onto your head to make sure it will go:
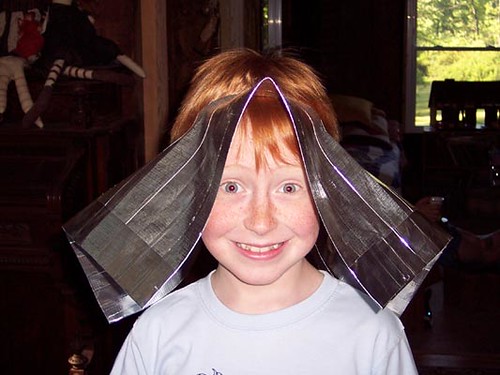
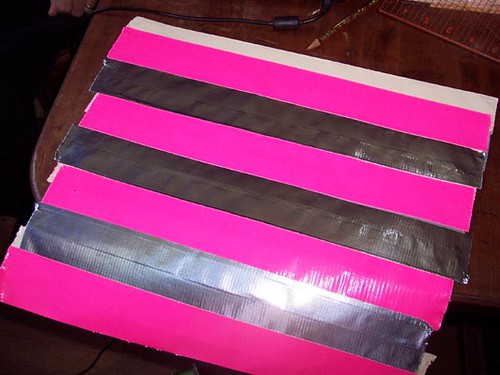
3. Create the Crown Rectangle. Now it's time to make the crown. Figure out how high you want your hat to be. I did about 12 inch strips. Your vertical strips will be joined together in exactly the same manner that you joined strips to build the brim. If you want stripes, alternate colors -- two blue (one in the front, turn, one in the back) then two red (one in the front, turn, one in the back)
Here's me making the striped crown of Sadie's pink-and-chrome hat:
4. Join the Crown Tube. When the crown has been built up to a length that will wrap around your head and fit approximately into the hole you made in your brim, finish it by joining the two ends together.
Here I am with the "stovepipe" part of the hat, measuring it against the hole in the brim, while Dan explains something about trading to me:
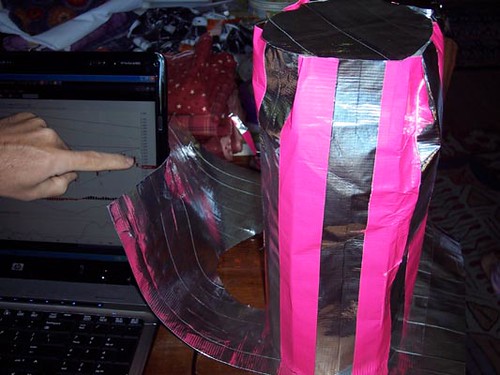
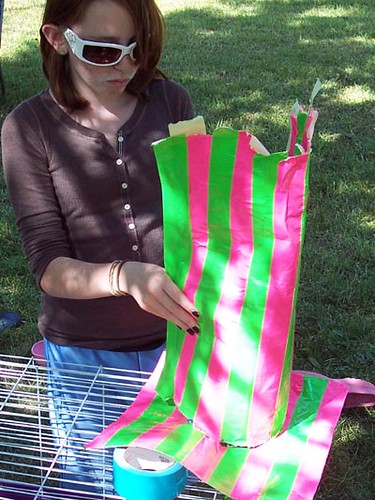
Here's Eden measuring her crown against her brim, checking to see if she needs to add more strips:
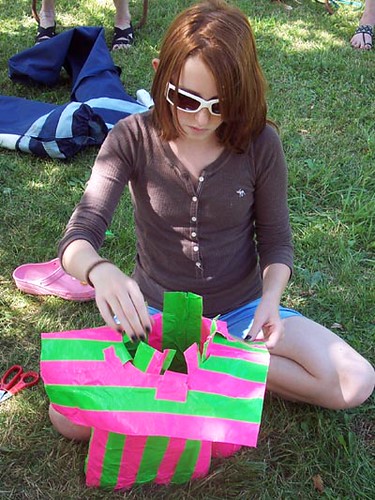
5. Cut the Tabs. Now cut slits in the bottom of the crown, about two inches long, all around the bottom of it. These will become tabs that attach to the brim. This is best illustrated in a picture I took of Eden making her hat:
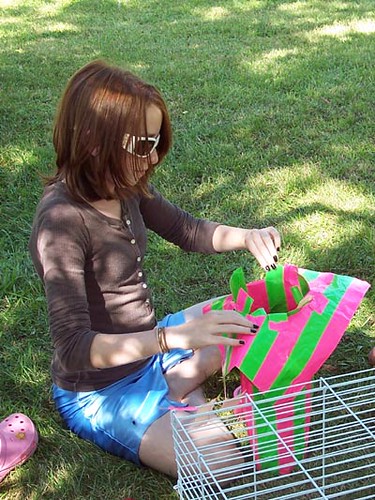
6. Connect Brim to Crown. When you have your tabs cut, tear as many 3 inch strips of tape as you have tabs, and stick them to something closeby, like a table edge or your leg, so they'll be handy. Start by taping down one tab, then do the tab opposite, then the tabs between, and work your way around. So, do the north tab first, then the south tab, then east and west, etc. This will keep your project even. It's a good idea to try on during this process so you can gather it in or stretch it out a bit, as needed. Tape all your tabs down firmly. If at any point the hat becomes too big, create a gather and tape it down. If it is too small, cut the crown apart, add more tape, tape it back together, and you will *never know* there was a problem. Duct tape is awesome!
7. Attach the Top. The only thing left is to make the very top of the hat. If you still have the piece you cut out of the brim, you can use that to finish the top, or you can create a new piece using the same strip-on-strip method, and cut it into a circle. It's not necessary to make it perfect at first cut, you can trim it to fit later, after you tape it in. Attach it with tape strips inside the crown where it won't show:
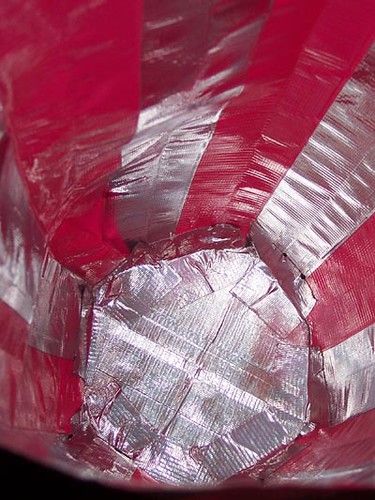
8. Embellish. Now you can trim the brim into whatever shape you like. Zig-zag, circle, scallops, or whatever. You can cut out embellishments and tape them on, add a hat band, flowers, whatever you like. We added stars on this hat to turn it from this:
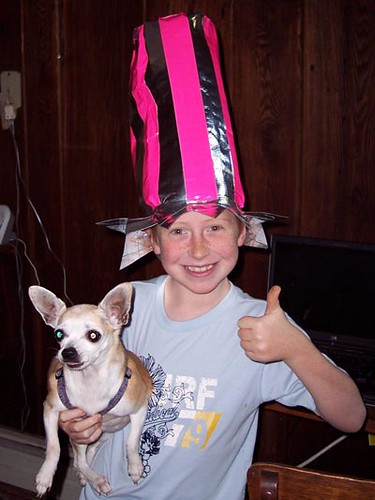
To this:

Eden rolled her brim to create a cowboy-hat-like effect:
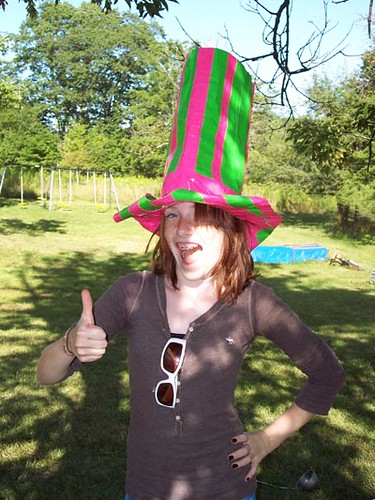
That's it! There are more pictures in my Flickr Set but I can't resist posting a few more here. Any questions, please email me. If you do this project, I would love to see the results! Stay tuned for more Vote for Me materials, and happy campaigning!
Benny's hat:

Jordan's hat:
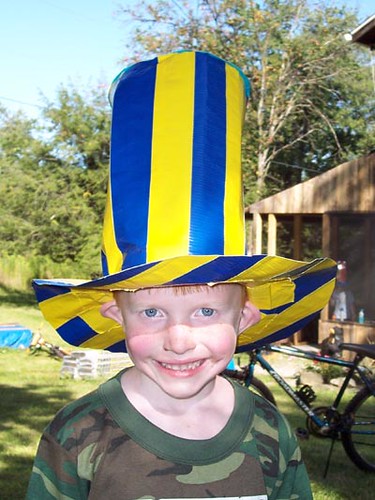
Cameron's hat:

Happy Homeschoolers:
Is this your first time at Little Blue School? Welcome to the blog! I hope you'll stick around and visit some of my other posts for more homeschooling ideas, projects, songs, and crafts. If you found this page helpful, would you bookmark it on your favorite social bookmarking site? Thanks!

you've out done yourself in awesomeness this time!!!!
ReplyDeleteI've never seen duct tape in so many colors! Now I have to go looking so we can try this--what a fun project.
ReplyDeleteI found mine at Walmart. they have all the colors. I found that they were substantially cheaper than Taylor's Do It center
ReplyDelete