
Step 1: Wash the shells.
I had a big bucket of shells that were pretty much straight from the beach. Sand in them, bits of seaweed, random ocean gunk, etc. I put the bucket in the sink and turned on the water. Sadie and Phillip washed the shells and each chose a bowl full to use in their projects.
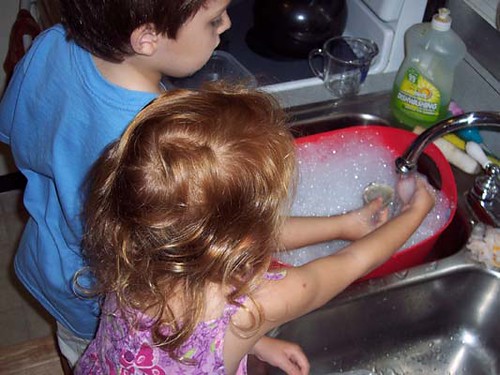
This was definitely the kids' favorite part of the whole thing. They liked clinking their hands around in the bucket of shells and water, they liked picking out different variations of color and shape, and we talked about the creatures that had inhabited the shells, why they were shaped how they were shaped, why they were sandy, why some had ridges and some didn't, etc. The nature lesson was good, but I think the tactile sensation was better.
Step 2: Paint the shells.
When they had their shells picked out, I laid paper towels on the table and set their bowls next to their workspace. They each chose ten shells, which we laid out in a row and numbered, then ten more, another row, then ten more. We counted to thirty, we counted by ten to thirty, we talked about three groups of ten making thirty, and we exploited the math moment in other ways. Then we painted.
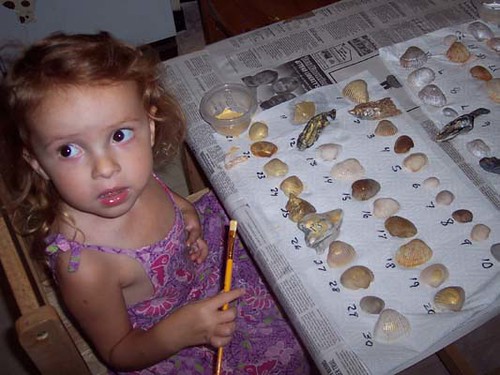
Painting shells is complicated because of the ridges. We tried, with varying degrees of success, to paint with the ridges rather than across them, to make an even, smooth layer of paint. We also tried to cover the whole shell.
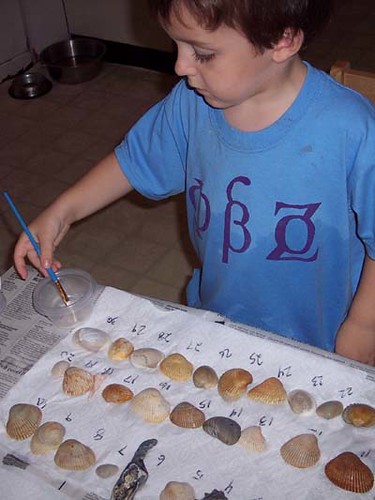
We used pearl white and metallic gold paint, and then came behind with silver and gold glitter paint. I like glitter paint 50 times better than shaking loose glitter onto glue. It's so much easier to control, so much less messy, and so much less likely to get into your eye and drive you crazy for the rest of the day.
Step 3. Arrange the Shells on the Frame.
After the kids chose their favorites and organized them on the frame, I came behind with a glue gun and attached the shells. We used an unfinished wooden frame, which we later varnished with spray varnish, because the glue and the shells will stick better to an unpainted wood surface than to paint or shellac.
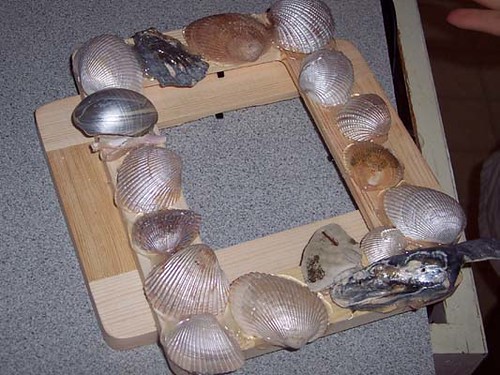
Another example of the quiet, private nature of homeschool learning. Looking at the finished frame, some silvery shells stuck onto a wooden rectangle, you don't see the math, the marine biology, the joy in the tactile sensation. While school teachers have to focus on deliverables, proofs, and evidence, the homeschool teacher has her own experience, her own memory, her own relationship with the project and the moment, and there's no one to prove it to, no need to quantify it.
Of course the homeschool teacher also has her homeschool blog where she occasionally does record it, quantify it, and provide all the evidence she likes.
I love your philosophy. you might like my blog www.biomathcraft.blogspot.com
ReplyDelete