Showing posts with label crafts. Show all posts

Friday, October 23, 2009

Jungle Book Week 7: How to Make a Sari for a Doll


Namaste.

Today we got right down to business because we had so much fun stuff to do with our Sharpie Saris. However, in the academic track class, we made the time to take our Punjab region quiz:

Quiz: Which one of the following statements are true?

1. The word Punjab comes from the Latin and means “The Eleven Diapers.”
2. The Indus Valley Civilization is largely a mystery because we don't understand their writing.
3. When Aryan people migrated to India and practiced an early version of the Hindu religion, that was the Vedic Civilization.
4. The most important idea for Punjabi people is peace and harmony for all.
5. The Punjab has been invaded by a lot of civilizations, like Greeks, Mongols, and the British.
6. Sikhism is a religion that was started in the Punjab and is still practiced there today.
7. The British Empire was never able to conquer the Punjab region, so they finally gave up and went home.
8. The Punjab is now fully contained in the modern country of Pakistan. None of it is left as part of India.
9. Bhangra dance is a folk dance from the Punjab.
10. Punjabi is the language of the Punjab.

Project: Sharpie Saris

Materials:
Each child needs a doll or stuffed animal.
Sharpies in all colors. Blue and red spread the best -- the "old school" blue and red colors, not the newfangled ones. Of course, we had a rainbow of newfangled colors on hand too.
Stretch poplin cut to fit different sized dolls and animals. The fabric I chose had a small percentage of spandex in it -- this really helps with the pleating and tucking and wrapping. Each piece should be long enough to reach from armpit to floor, and long enough to go around five times. More if you're going to do pleats at the waist. Some of the girls did American Girl saris, and for these I used 44 inches of fabric, the full width of the fabric on the bolt. The width of the strip was about 10 inches. For a Groovy Girls size doll or a Webkinz, you need about half as much length, 2/3 as much width.
Safety pins for pinning the sari at the back.
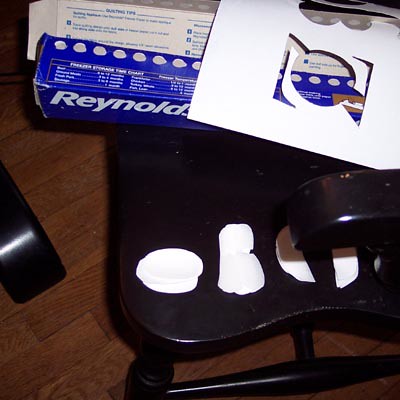
Rubbing alcohol.
A squirt bottle or spray bottle, or an eye dropper. Fill this with the alcohol.

Instructions:
Find a place outside on the sidewalk or inside with lots of ventilation and a protected surface.
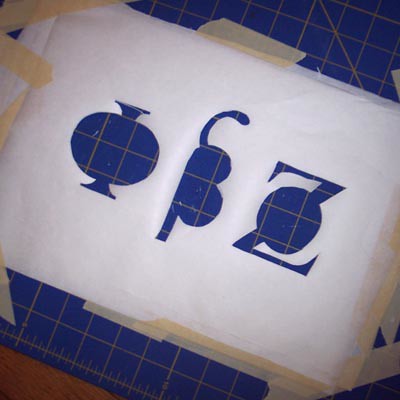
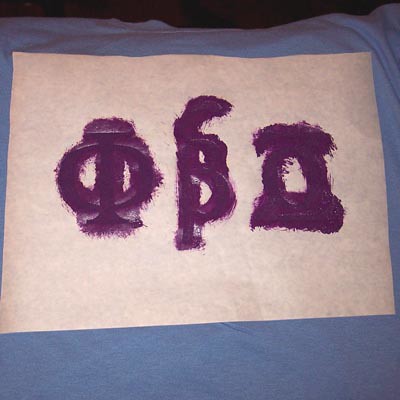
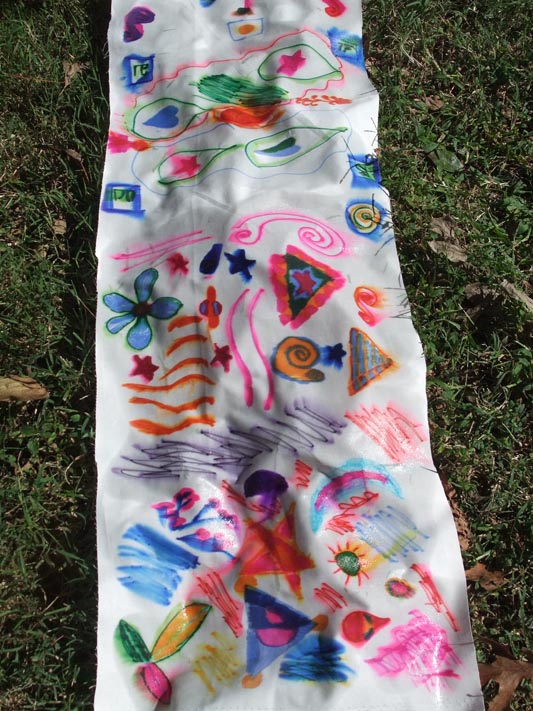
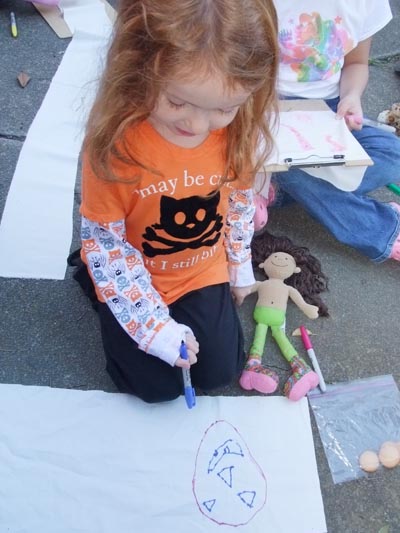
First, decorate your blank sari with the Sharpies. You can do whatever designs you like, but try using some of the motifs we learned about in class -- tear drops, half-moons, stars. You could even decorate your sari with mandalas like this:


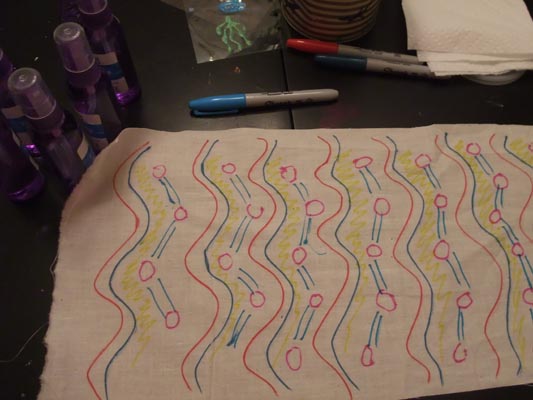
Or you could do stripes like this:


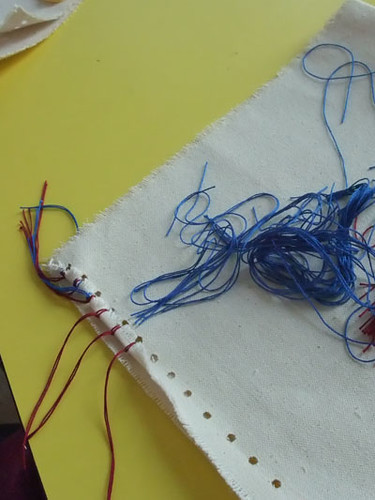
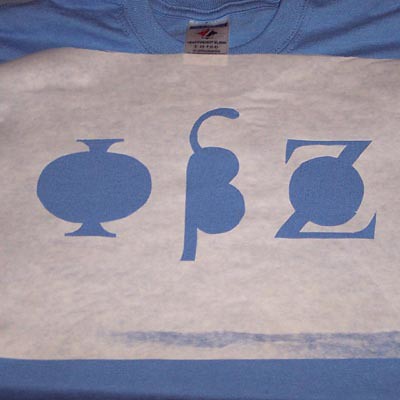
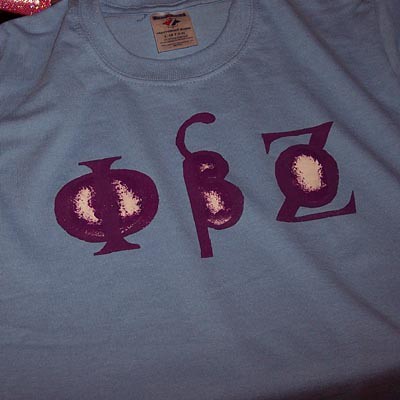
Next, making sure you're on a protected surface or one you can ruin, spray the alcohol all over your design. The colors will start to bleed together:


When you've doused it with alcohol, let it dry. Running around waving it in the sunshine is a good way to execute this part of the plan!

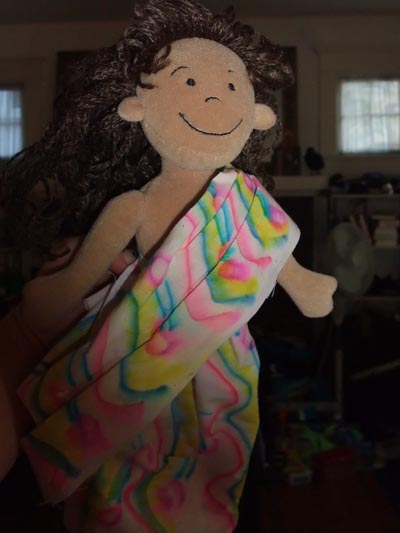
When it's dry, wrap the sari on your doll according to the instructions on this video:


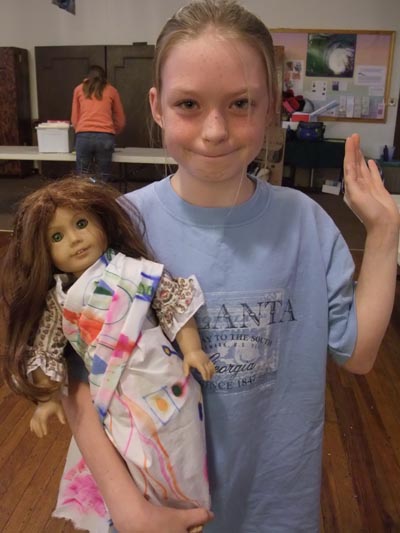
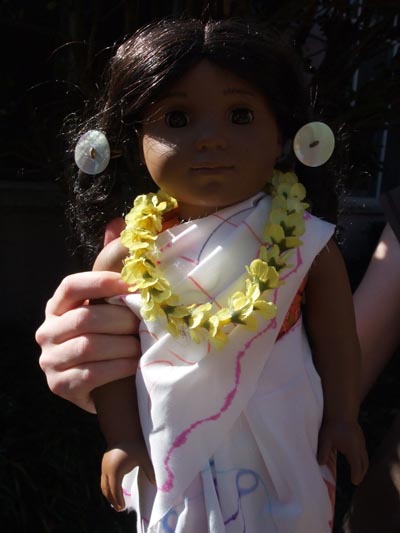
Now your doll has a sari:


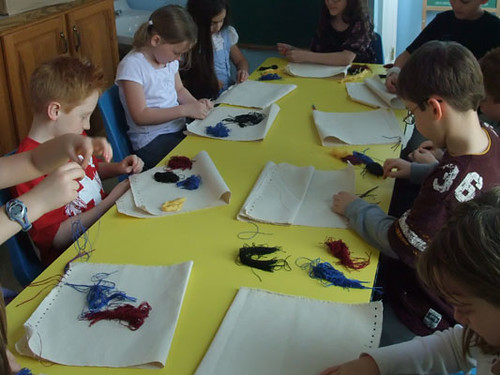
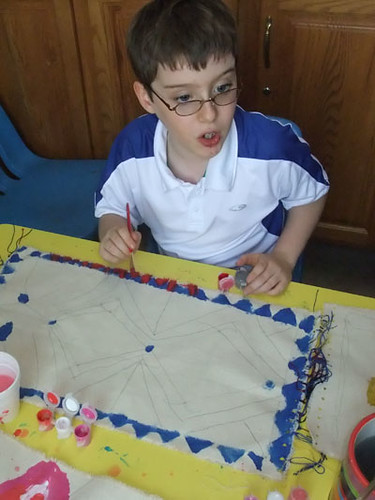
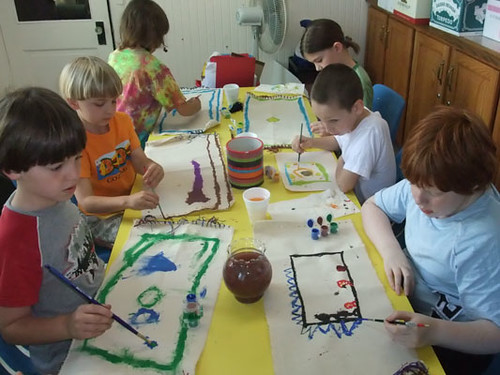
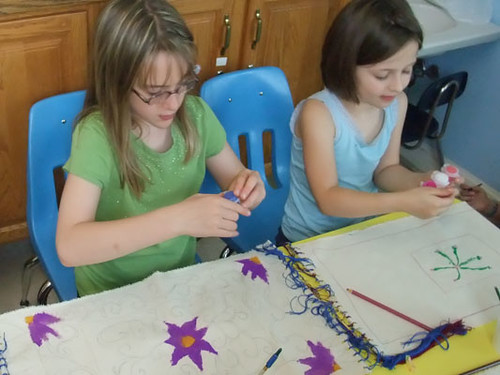
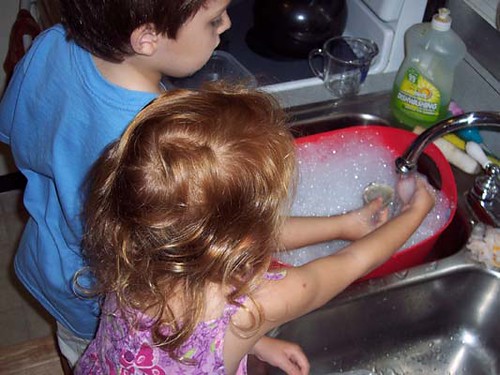
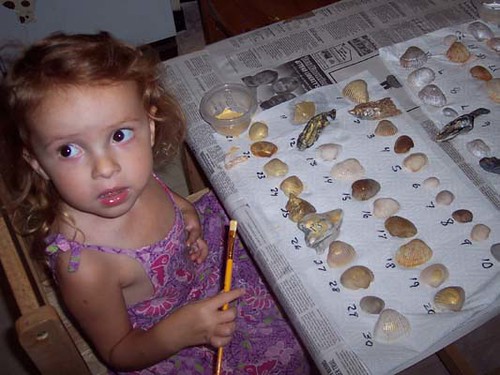
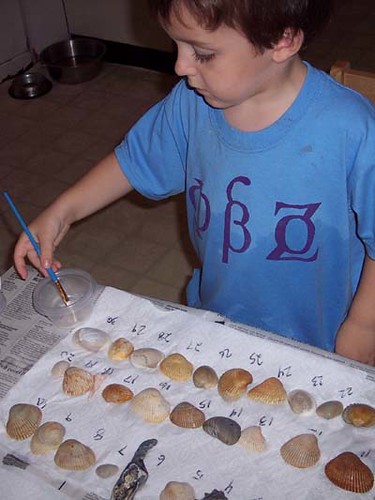
Here are some pictures from our sari making!


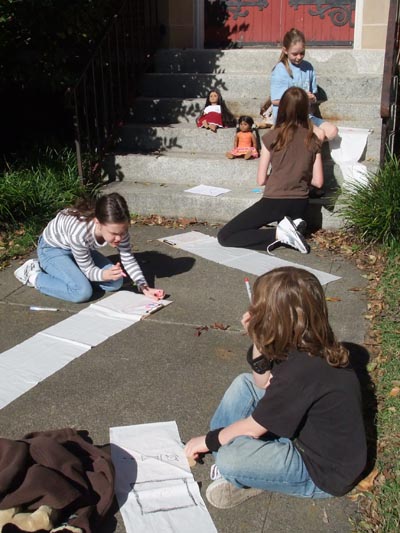
For more pictures, visit our Jungle Book Flickr photo set.

Homework: Because we were upstairs, downstairs, outside, and all around, I'm not sure everyone got the Himalaya and Sannyasi fast facts, or if they got them, I'm not sure they made it into the folders. For this reason, and also because we have a special guest coming next week, we will push the quiz on the Himalayas to the following week. So, there is no quiz this week, there is no reading assignment for this week, and on Tuesday I will make sure everyone has the facts. Also on Tuesday, we will start the Mowgli stories! Hooray!

Thursday, May 14, 2009

How to Make a Magic Carpet

The study of Persian rugs is an interesting way to get into Persian history and Islamic culture. Why are Persian carpets so beautiful? In a culture where iconography is immoral, a functional object like a rug is a place where art can be expressed "legally." Like calligraphy, Persian carpets are art in the guise of a necessity. Given the significance of these rugs to the culture from which they come, it's no wonder they are sometimes portrayed as magical.

Here are a few things we learned about while studying Persian rugs: symmetry, the types of designs (geometric, curvilinear, pictorial), the elements of a rug (border, central medallion, repeated motifs), child labor laws, how to value a rug based on knot count, the difference between natural fibers and manmade fibers, and more.

Project materials:

Large canvas rectangles
Crop-a-dile or other awesome hole-puncher
Lace-weight yarn/thread in different colors
Poster paint and brushes

Preparation:

Punch holes in the short sides of all the carpets, about 1/2 inch apart. You are going to need a serious, no-kidding hole punch to get through canvas. I used a Crop-a-dile.
Cut the thread into pieces about 10 inches long. Deep rich colors are best.

Step One: Fringe


Give each child a choice of thread colors and encourage them to work in patterns. They can use a simple knot to create their fringe. Make a loop in the center of the thread, push the loop through the hole, and then thread both ends through the loop. Pull tight. You can fold over the edge of the fabric as you go to create a smooth edge.


Step Two: Paint

First have the children sketch their ideas with a pencil lightly so they can erase and redo it if they're not happy with it. Make sure everyone remembers to put in a border, a central medallion, and then repeated motifs.


The kids took home some interesting work! Painting on the canvas was challenging for a few, they needed reminding to keep a lot of paint on their brushes. However, making the carpets led to some interesting discussions about what the carpets mean to the people who make them. Here is the class singing a Persian folk song while they worked. They started singing spontaneously, then of course I had to run get my camera and have them do it again!


What class is this? My elementary literature class at Norfolk's premier co-op of extreme homeschool awesomeness, Homeschool Out of the Box.

Tuesday, August 28, 2007

Make a Silver Seashell Frame: A Preschool Craft with Shells from the Beach

Last week at Phi Bensa Zoe Academy, our homeschool mini-co-op, the junior class did a math/art/nature project that resulted in a picture frame decorated in painted shells. Of course, with preschoolers, it's all about the process.

Step 1: Wash the shells.

I had a big bucket of shells that were pretty much straight from the beach. Sand in them, bits of seaweed, random ocean gunk, etc. I put the bucket in the sink and turned on the water. Sadie and Phillip washed the shells and each chose a bowl full to use in their projects.


This was definitely the kids' favorite part of the whole thing. They liked clinking their hands around in the bucket of shells and water, they liked picking out different variations of color and shape, and we talked about the creatures that had inhabited the shells, why they were shaped how they were shaped, why they were sandy, why some had ridges and some didn't, etc. The nature lesson was good, but I think the tactile sensation was better.

Step 2: Paint the shells.

When they had their shells picked out, I laid paper towels on the table and set their bowls next to their workspace. They each chose ten shells, which we laid out in a row and numbered, then ten more, another row, then ten more. We counted to thirty, we counted by ten to thirty, we talked about three groups of ten making thirty, and we exploited the math moment in other ways. Then we painted.


Painting shells is complicated because of the ridges. We tried, with varying degrees of success, to paint with the ridges rather than across them, to make an even, smooth layer of paint. We also tried to cover the whole shell.


We used pearl white and metallic gold paint, and then came behind with silver and gold glitter paint. I like glitter paint 50 times better than shaking loose glitter onto glue. It's so much easier to control, so much less messy, and so much less likely to get into your eye and drive you crazy for the rest of the day.

Step 3. Arrange the Shells on the Frame.

After the kids chose their favorites and organized them on the frame, I came behind with a glue gun and attached the shells. We used an unfinished wooden frame, which we later varnished with spray varnish, because the glue and the shells will stick better to an unpainted wood surface than to paint or shellac.


Another example of the quiet, private nature of homeschool learning. Looking at the finished frame, some silvery shells stuck onto a wooden rectangle, you don't see the math, the marine biology, the joy in the tactile sensation. While school teachers have to focus on deliverables, proofs, and evidence, the homeschool teacher has her own experience, her own memory, her own relationship with the project and the moment, and there's no one to prove it to, no need to quantify it.

Of course the homeschool teacher also has her homeschool blog where she occasionally does record it, quantify it, and provide all the evidence she likes.

Wednesday, May 02, 2007

How to Make Custom T-Shirts at Home

So you want to make t-shirts, just a few, and you don't want to deal with the hassle and uncertainty of cafepress or maybe you need them *right stinking now* and you can't wait to order them online. Okay! I have your messy, irritating, dangerous answer! Aren't you glad you came to this blog?

I made six t-shirts for our small homeschool co-op with this method, and it worked great. I let Benny pick the color of the paint and Sadie pick the color of the shirt, but apart from that they weren't able to help too much because of the razors involved. Hey, you can't always make it a teaching moment. Especially when there are razors.

Supplies list:
T-shirts
Acrylic, permanent, unwashable paint
Paintbrush
Freezer Paper
Masking Tape
X-Acto knife
Iron and ironing board
Piece of cardboard as big as design


1. Make your design.

We named our co-op "Phi Bensa Zoe Academy" using our kids names to invent new and serious-sounding Greek letters. Then we invented the "new" Greek letters to go with, and that was the shirt. Whatever design you choose, print it out in black and white on a piece of paper. How complicated can it be? Depends how fussy you want to get with the cutting out and the ironing later.

2. Tape six pieces of freezer paper to a cutting board, and your design on top.

If you're making six shirts, use six pieces of freezer paper. Make sure the wax side is down!


3. Cut out your design.

Using the X-Acto knife, remove all pieces of your design. With a sharp knife or razor, you can easily go through seven layers of paper.

4. Make sure you save any inner pieces, because you'll need them later to complete thhe stencils.


5. When the stencils are all cut out, remove them carefully from the cutting board and peel off all the tape that was sticking them down.


6. Lay one shirt on the ironing board and slide the piece of cardboard up inside it, under where you want the design to go. Iron the stencil on, wax side down, and make sure all little edges and bits are firmly ironed into place.


7. Now replace all the little inner bits and iron those down too.


8. Paint over the stencil, and make sure every bit of exposed fabric gets fully covered. This is pretty much the only part the kids can help with in anything but an advisory position. You don't have to glop on a whole lot of paint, but use a stiff brush and work the paint down into the fibers.


9. Peel up the stencil. Here, mine is peeled except for the inner bits.


10. Before washing this shirt, you should iron it to set the paint. Iron on the back, and put paper under the front so it doesn't get on your ironing board if it bleeds at all. Then you can wash it as usual!

Final product:


Is this your first time at my blog? Welcome! Hey, I have an idea! Come visit again! :)